Our Design
Software
The rover prototype uses python and arduino coding in order to translate a click from the user into movement from the arduino.
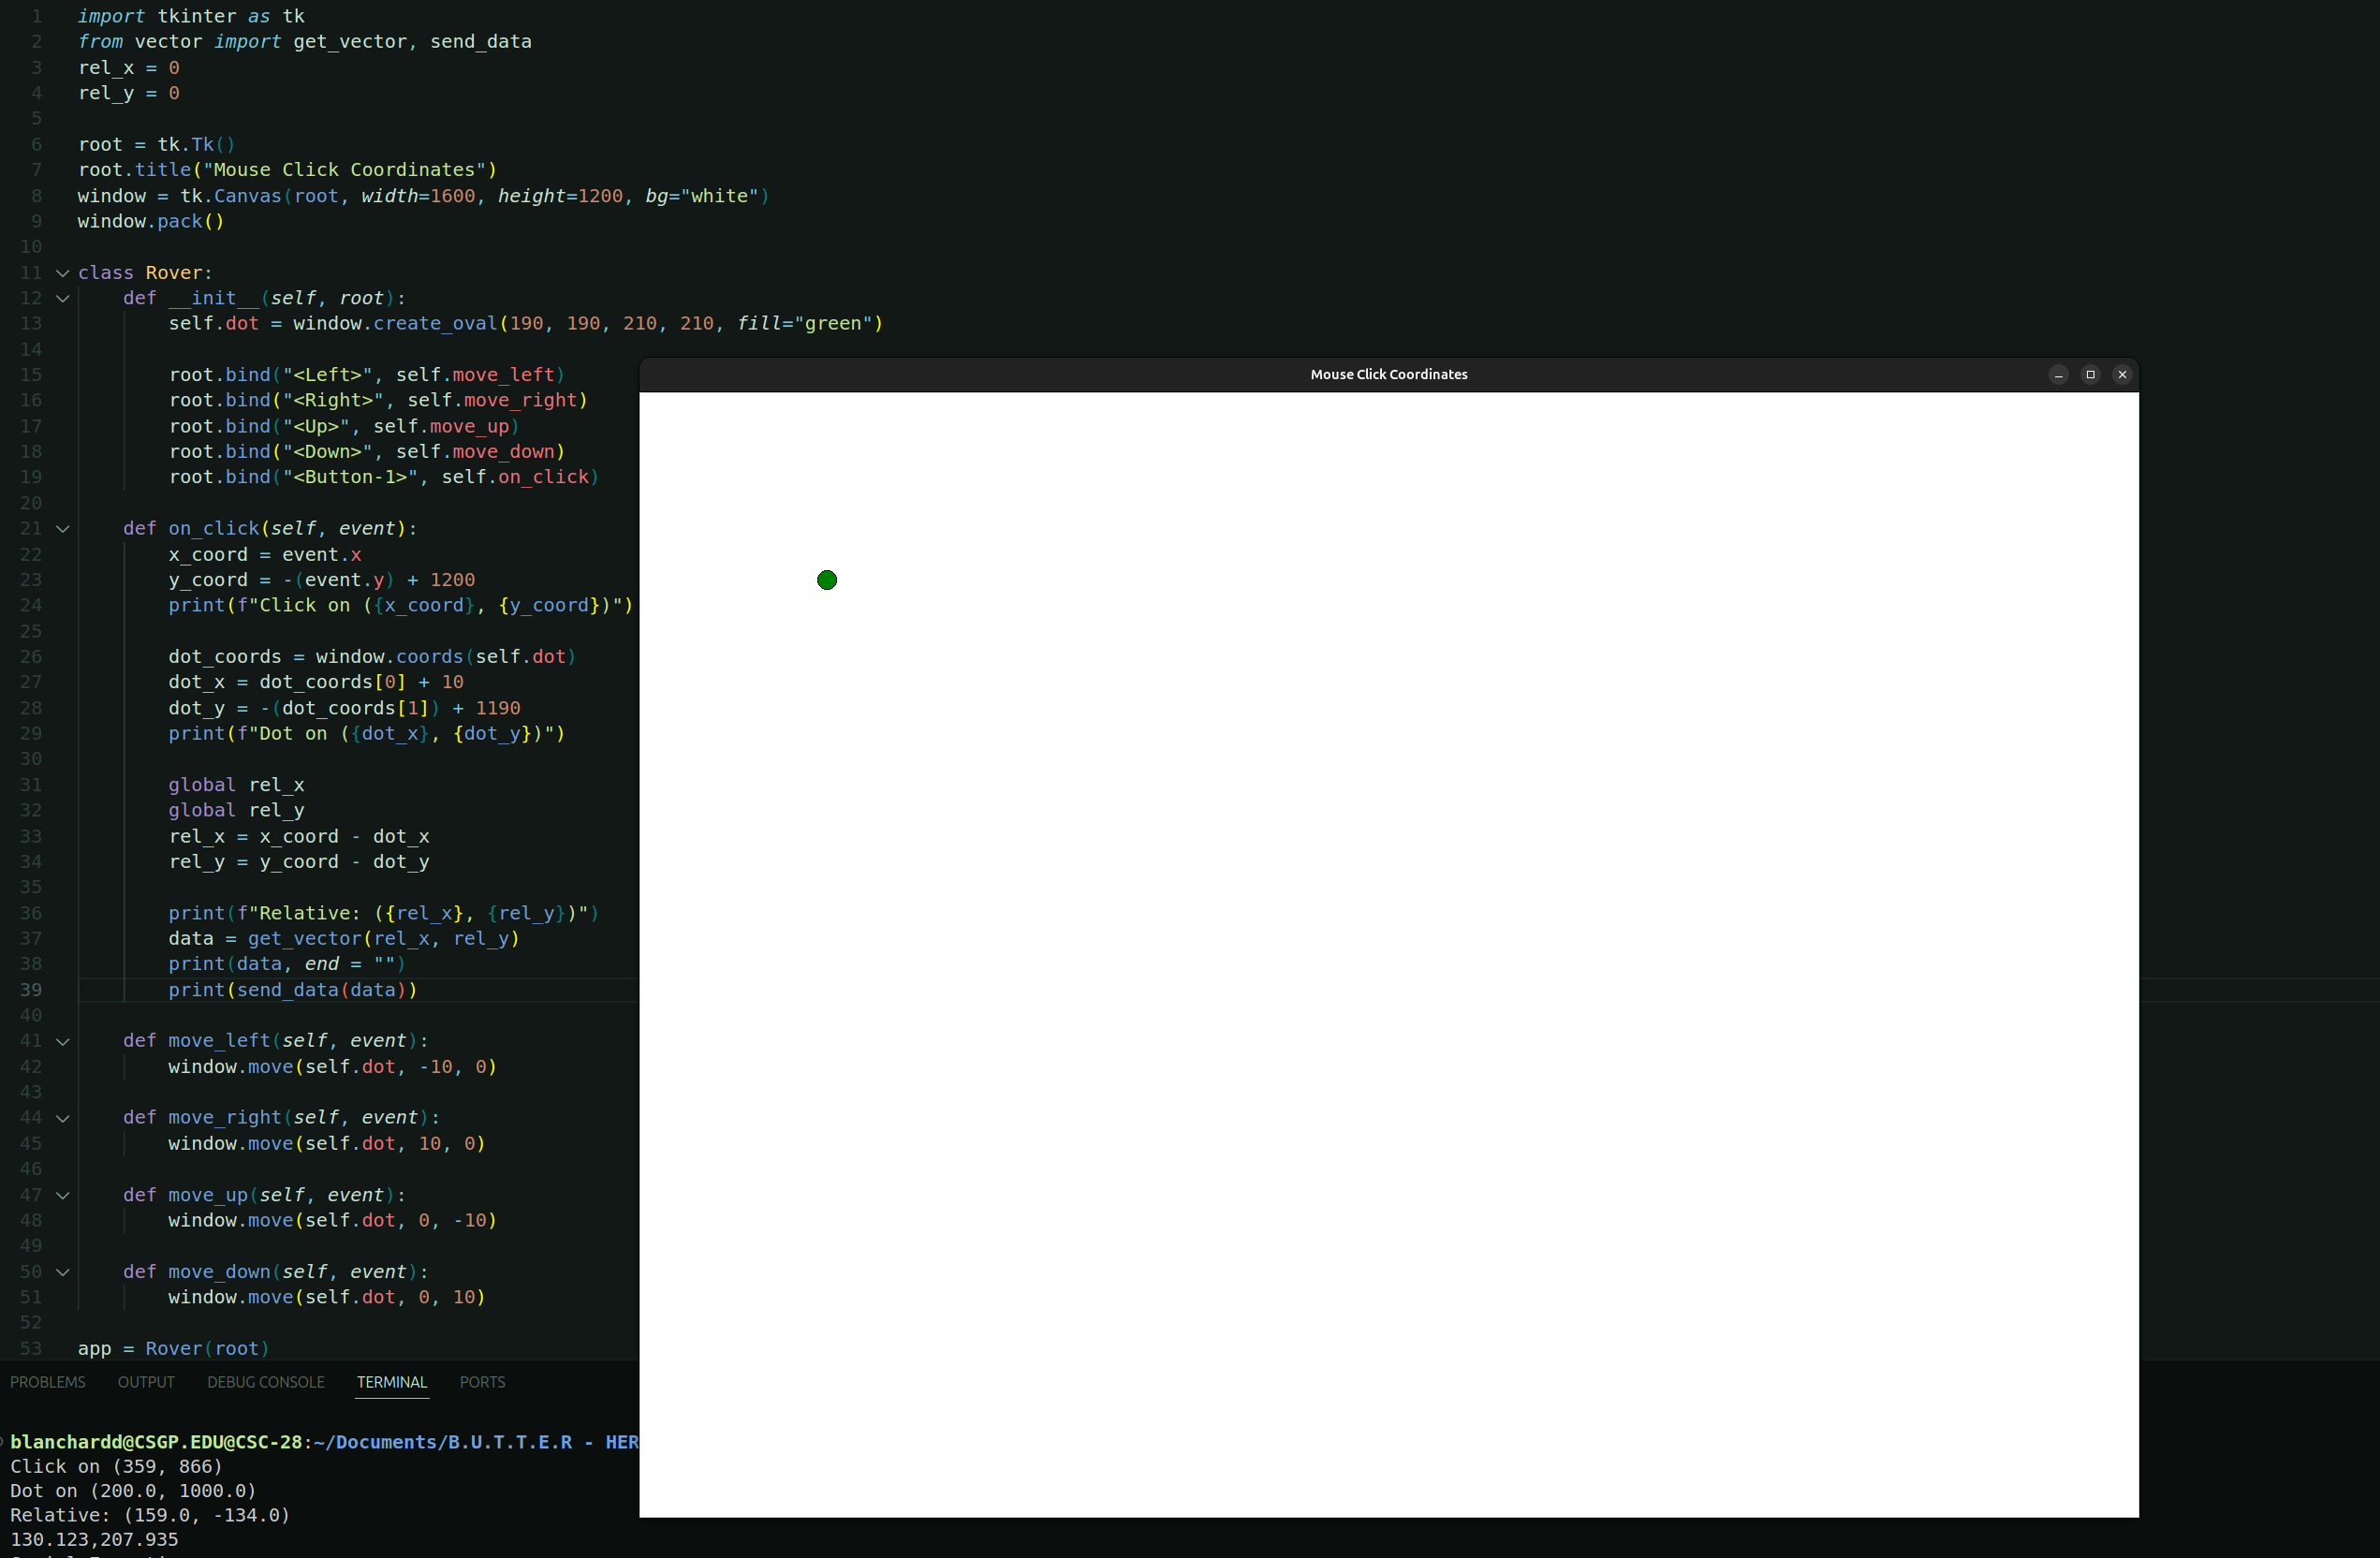
Clicking
The first step of this process is taking the input from the user. Our design uses the python library tkinter, allowing for the display of a window that can take inputs.
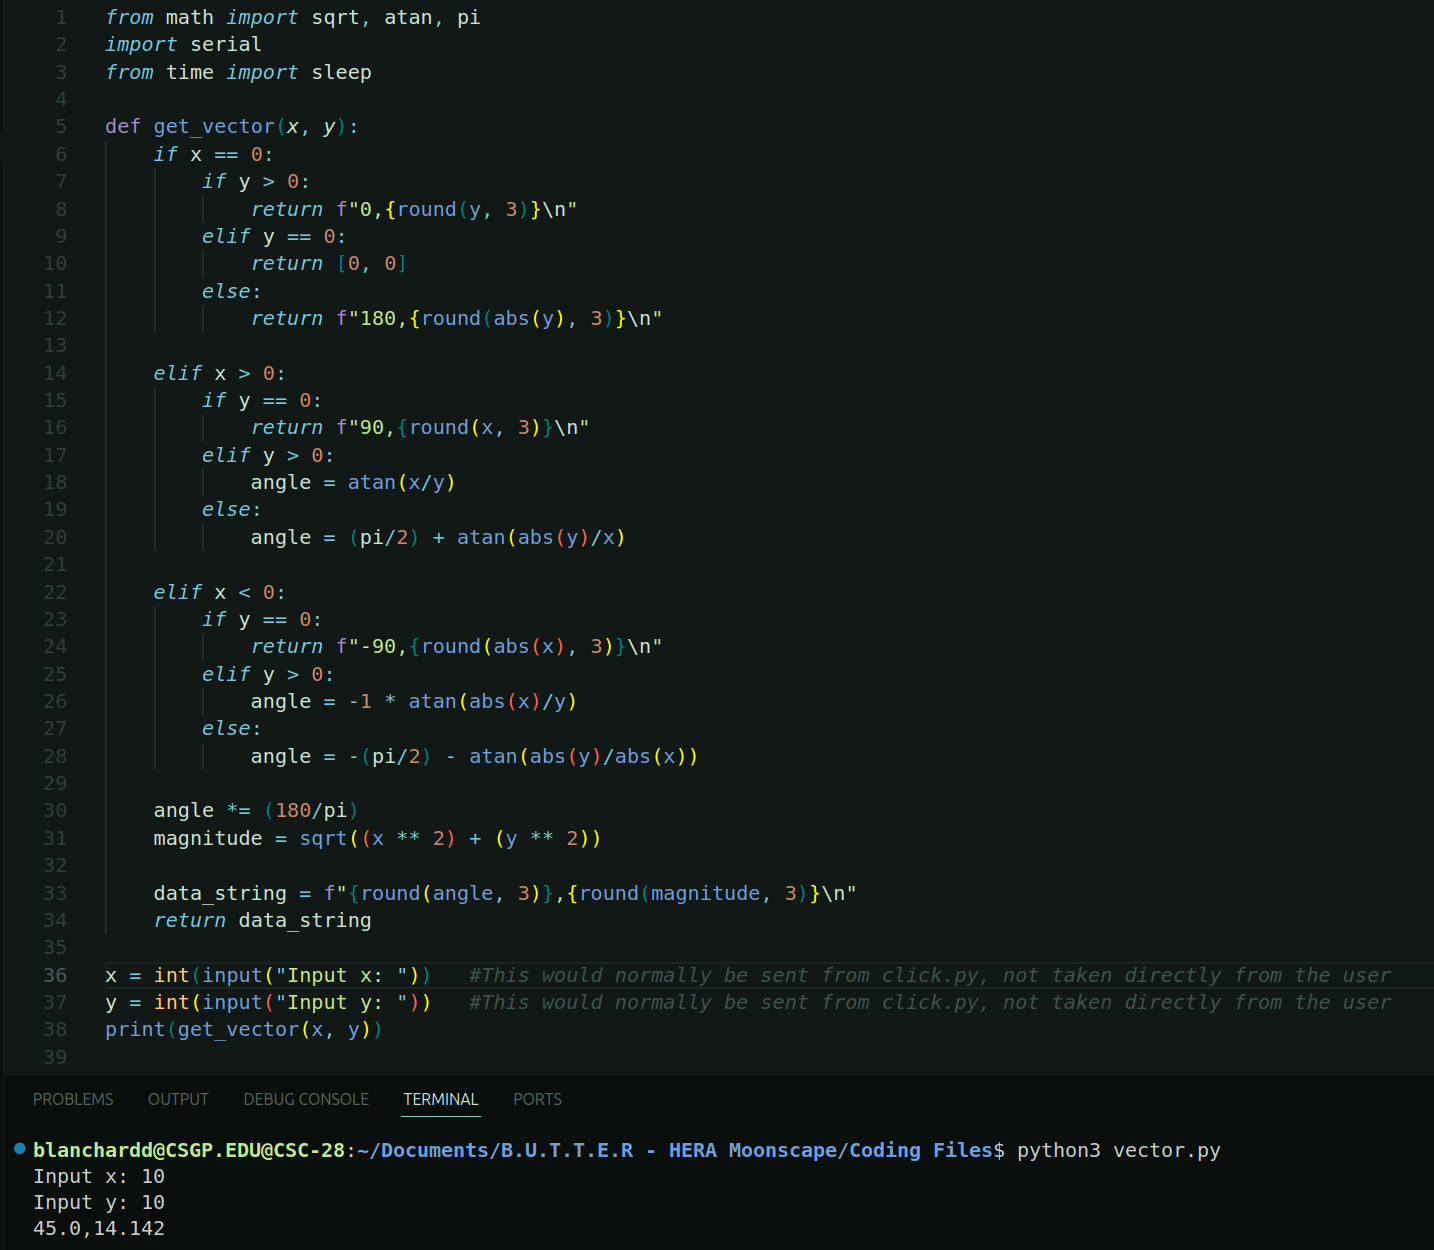
Triangulating
Once the click from the user has been taken and translated into relative coordinates, they're sent through the triangulation software. This takes those relative coordinates and changes them into an angle and a distance.
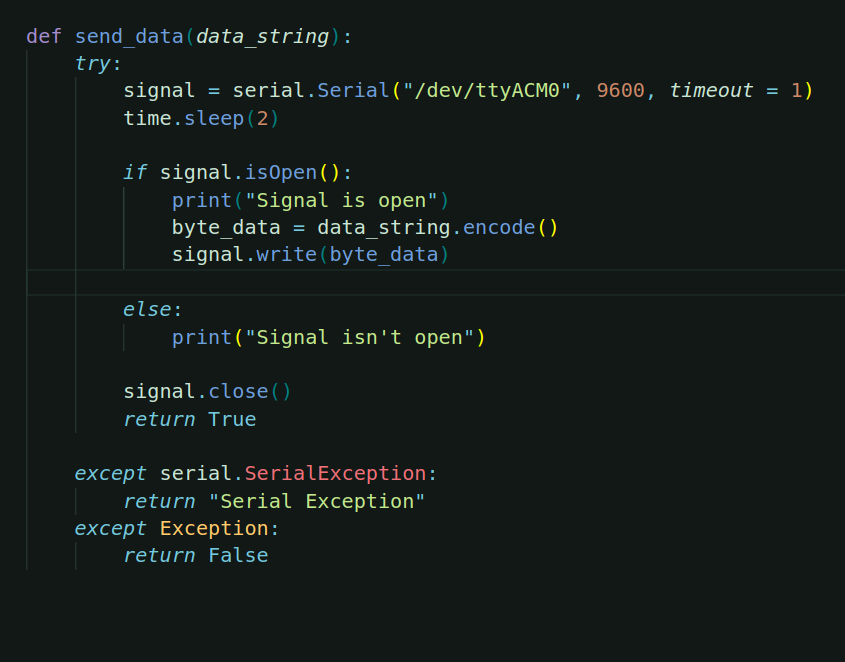
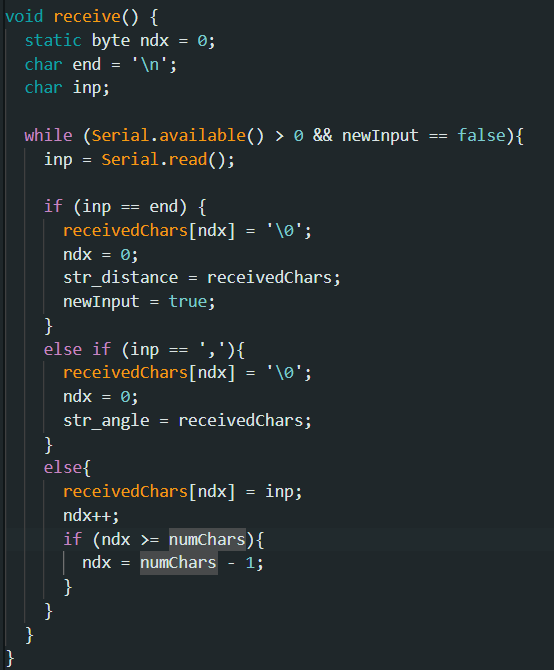
Sending and Receiving the Data
Since the arduino is the thing that controls the servos and motors, next that data is sent to the arduino. The python Serial library is used to do this, and the arduino interprets the data.
Electronics
The rover prototype uses:
- Arduino-based control systems using:
- Servos for turning
- DC motors for movement
- A raspberry pi that:
- Coordinates the movement of the rovers
- Stores video data
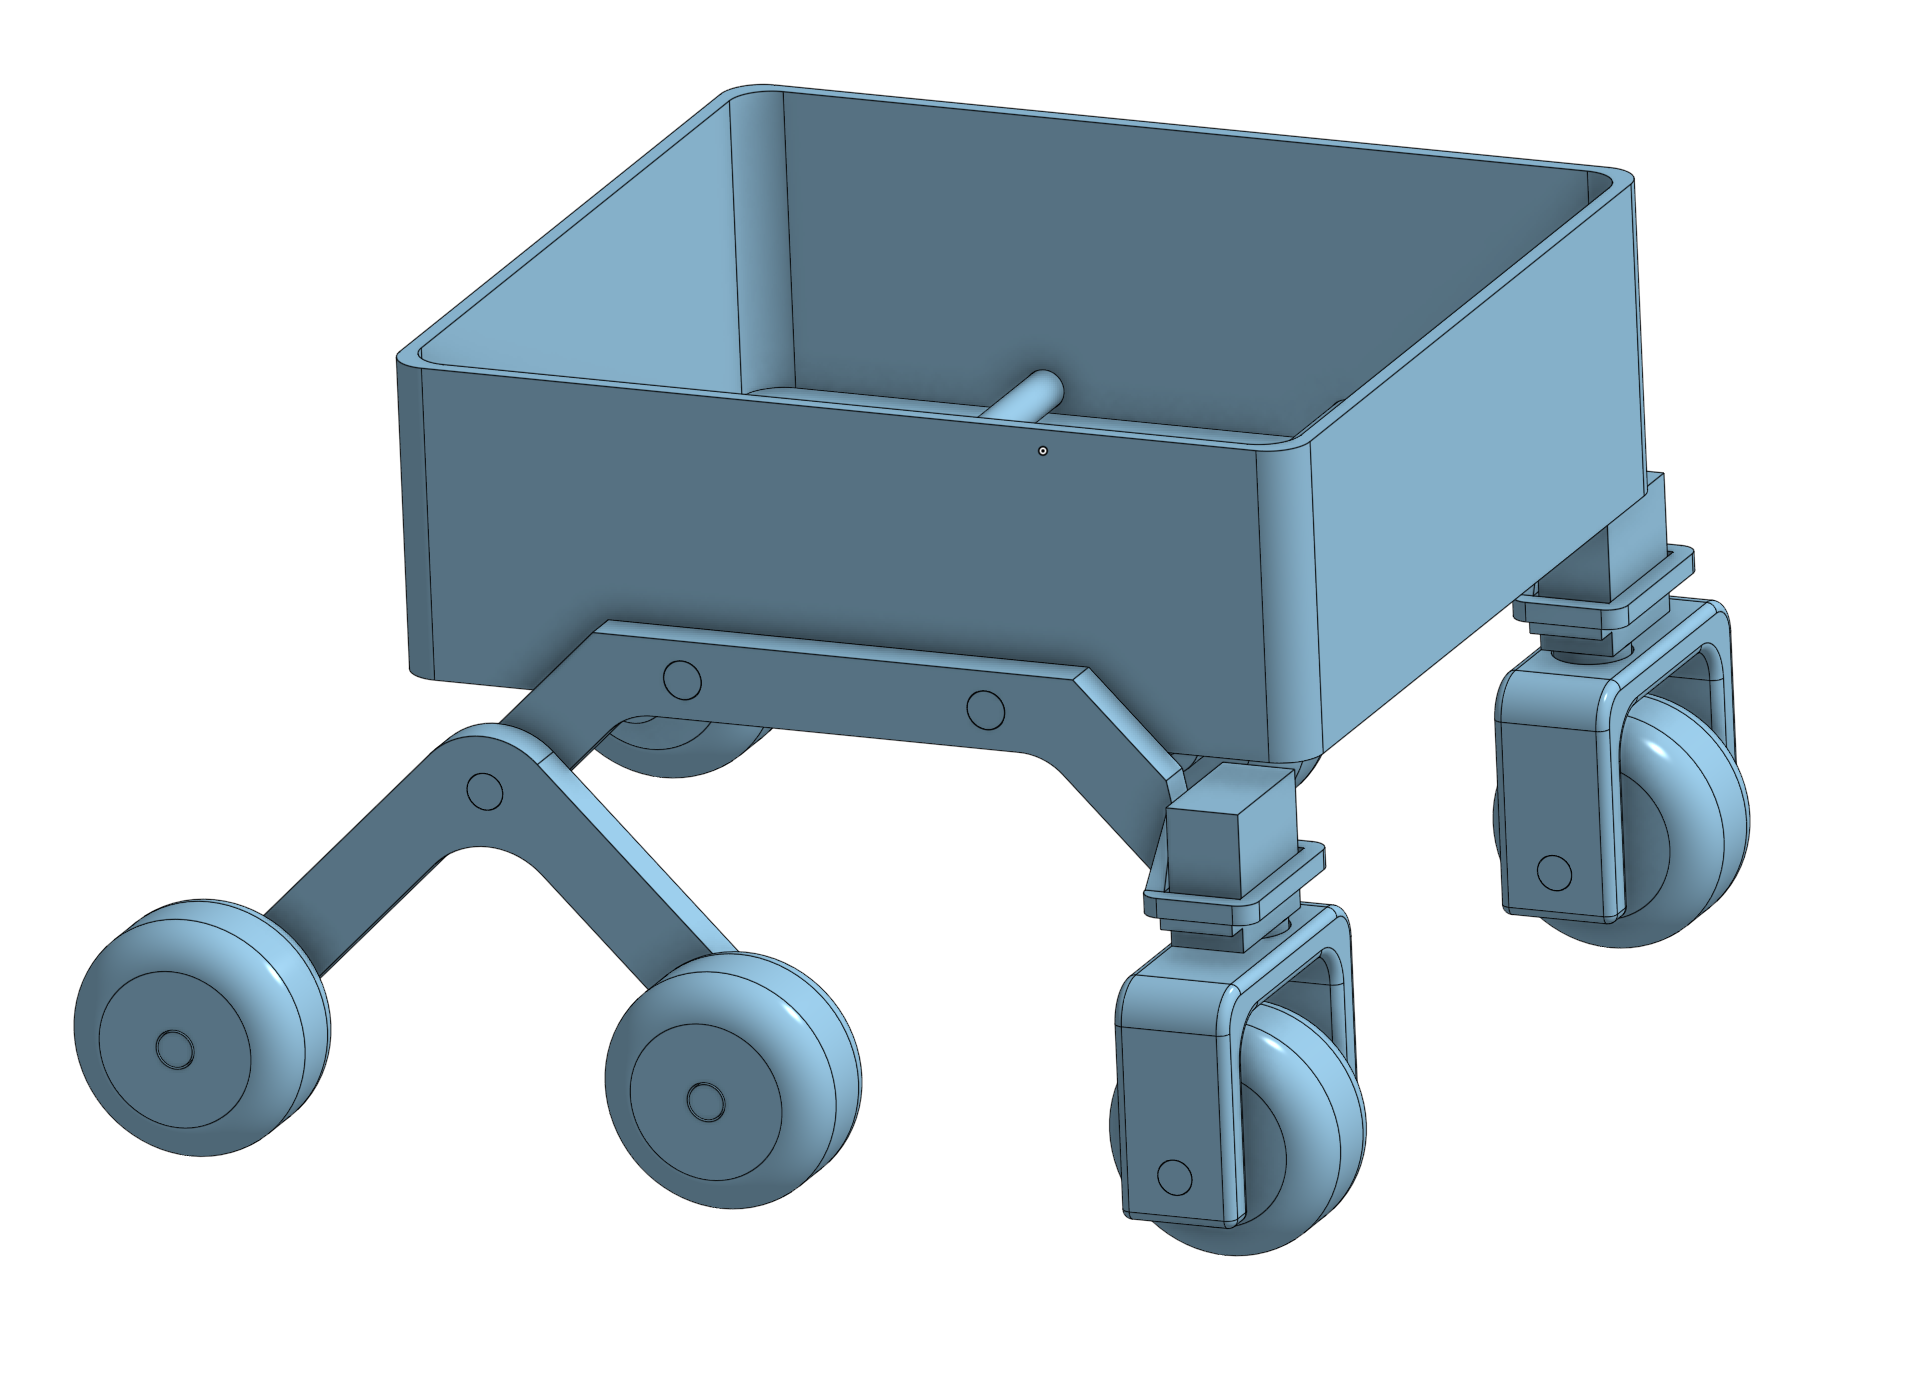
3D Model
Our design uses a rocker-bogie suspension system with a hollow body that we use to store the electronics. The front has slots for the servos to go, which will also attach to the wheels, allowing them to turn.
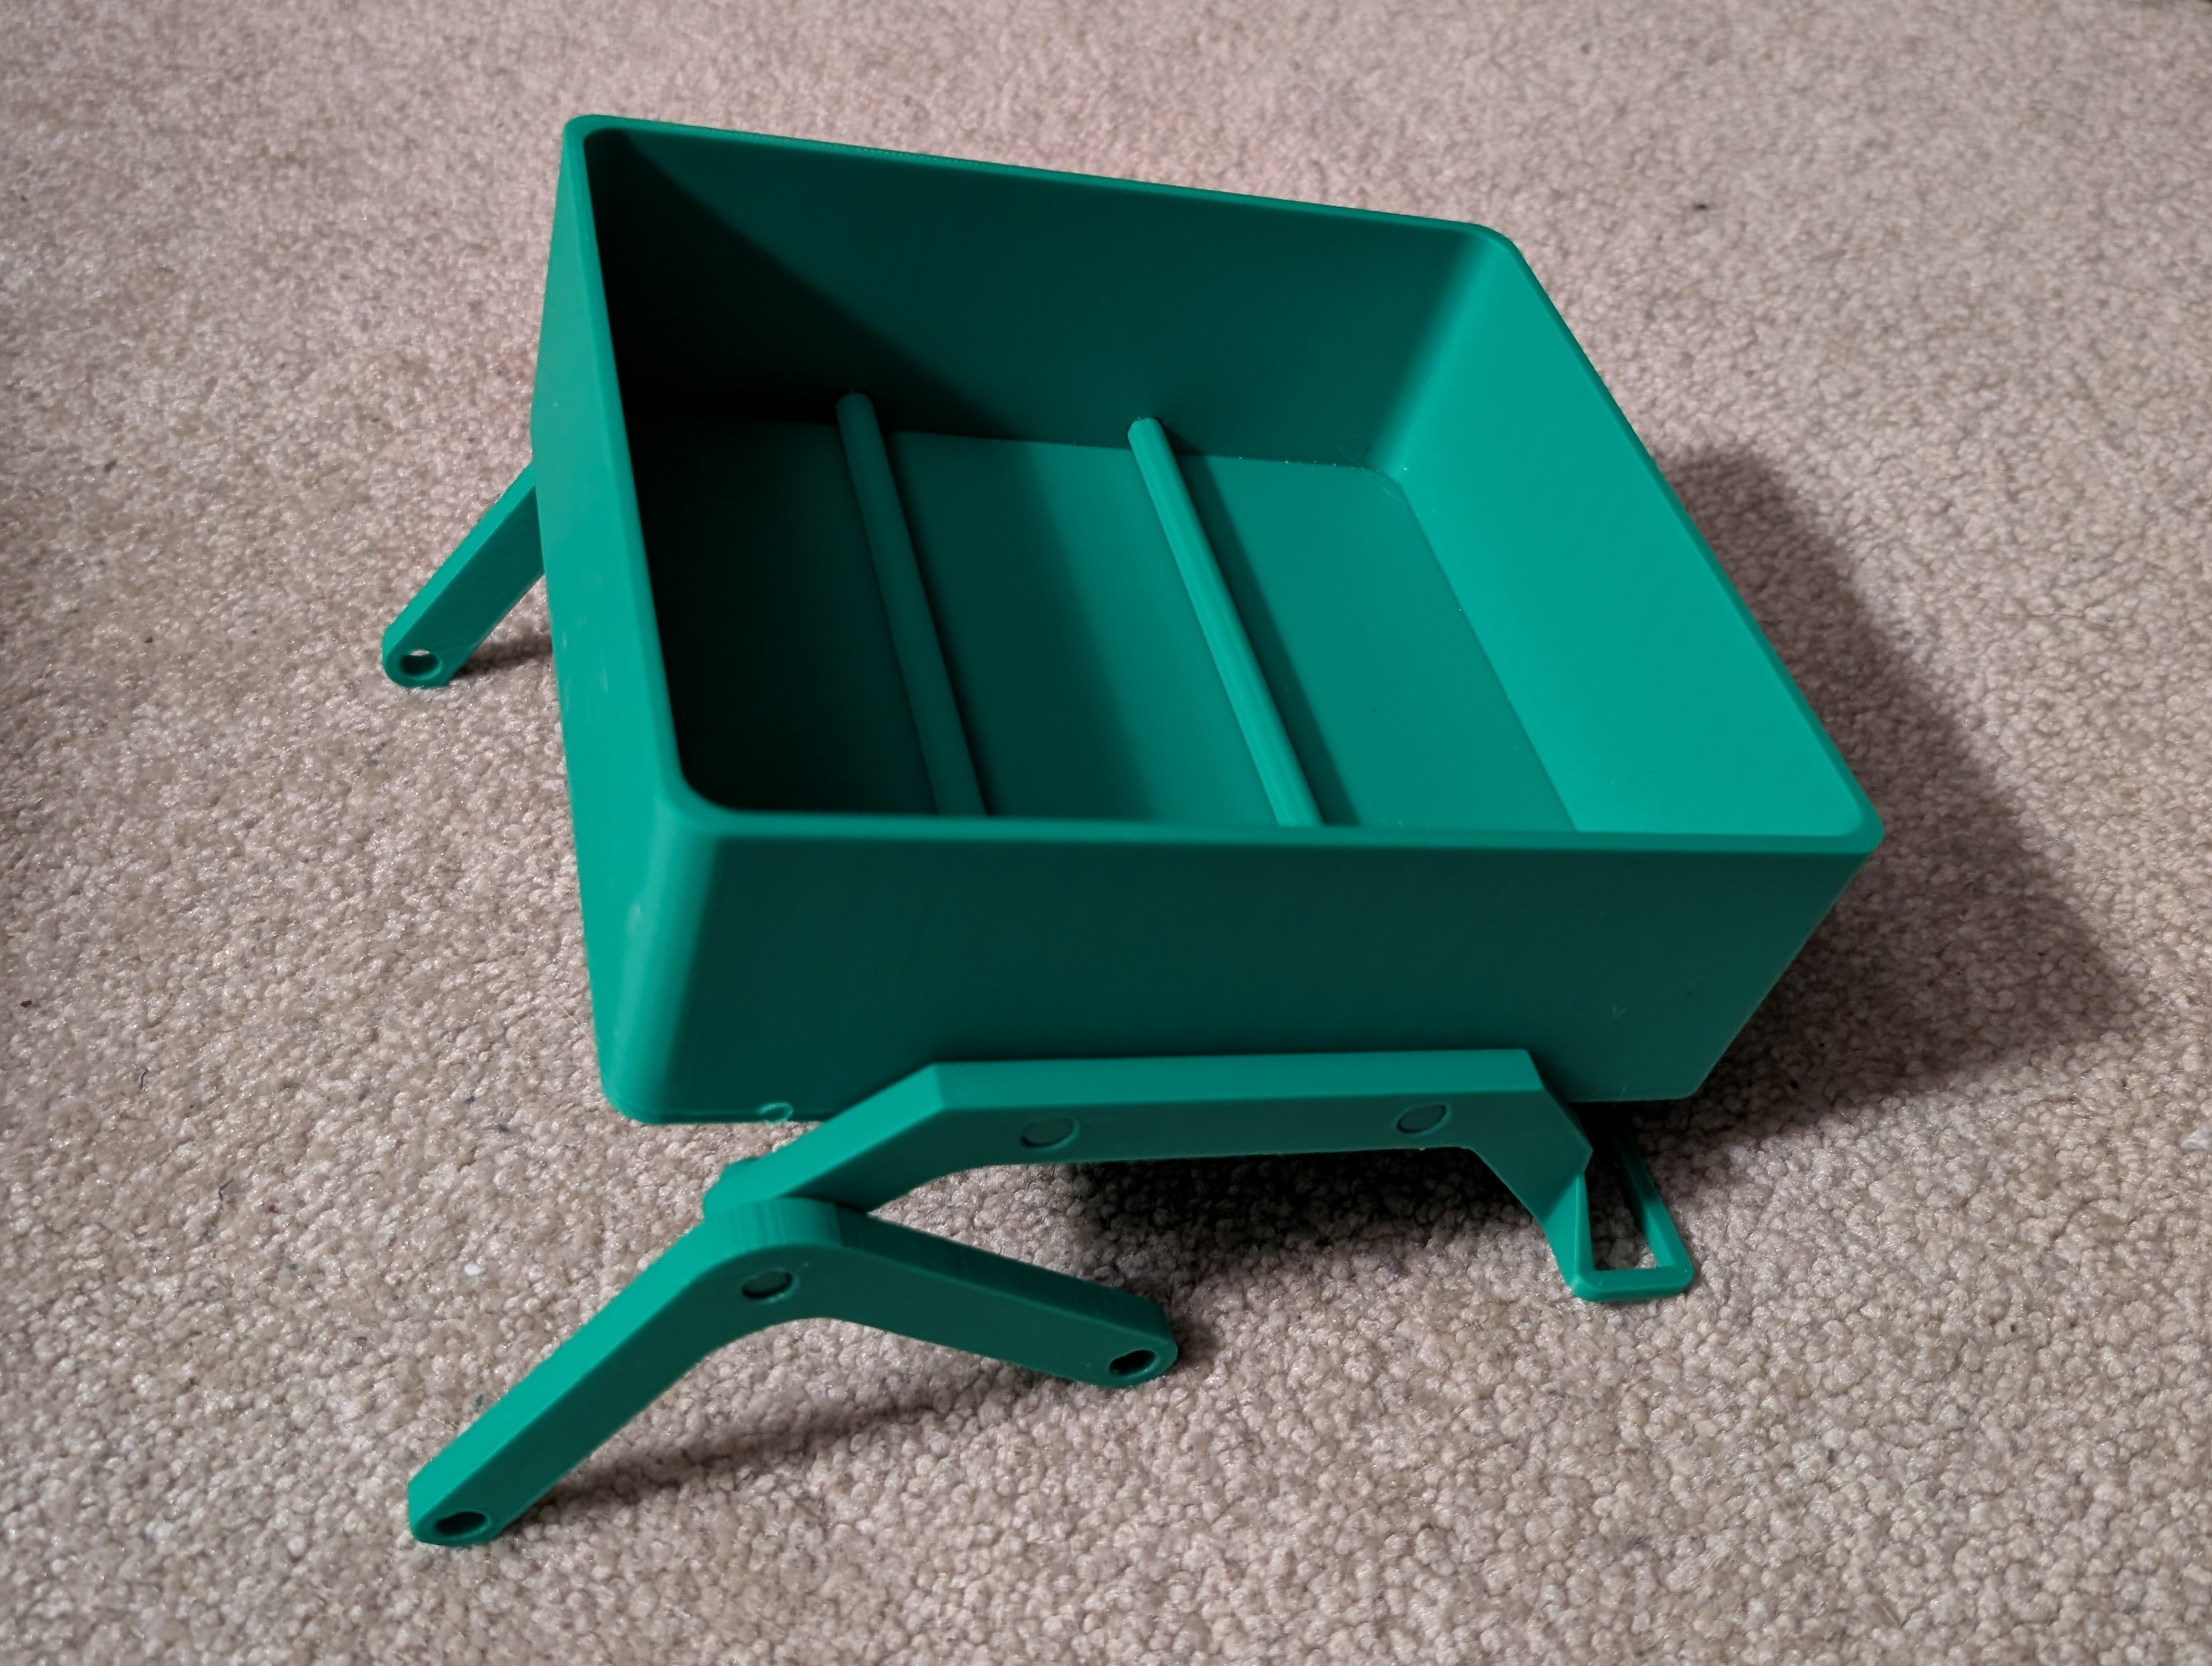
Here's what our 3D printed body looks like after being printed out without any electronics attached.
Simulation
In order to test our rover design in a varied amount of environments we decided to use a simulation. This allows us to test without using unnecessary resources building difficult landscapes, and test things that wouldn't be feasible in a normal environment such as different gravities.
Rover was built from scratch in Webots simulation software to have an accurate rocker bogie suspension system that would function just like it would in real life.